
February 12, 2026
How to Prepare Artwork for Large-Format Printing
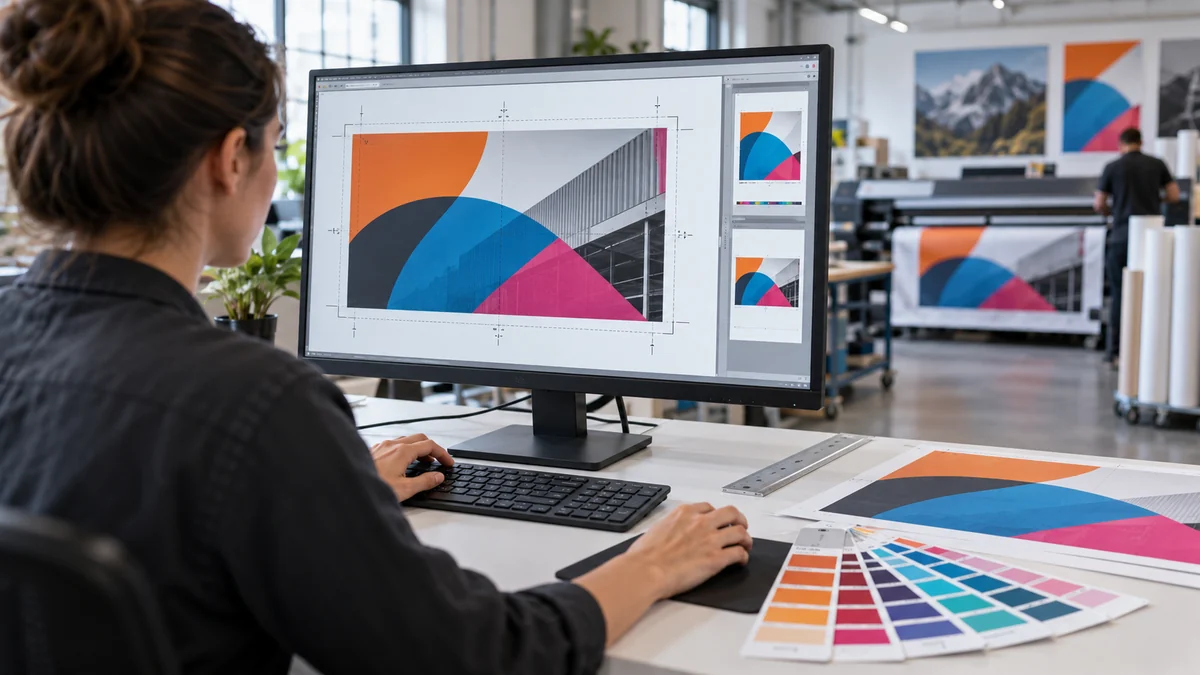
Large-format artwork can look perfect on a laptop and still fail in production if the dimensions, image resolution or export settings are wrong. The safest workflow begins with the finished product, builds the document at a known scale and ends with a deliberate content check. Exact requirements vary by product and production method, so always check the product artwork requirements or contact Ellesi.
Set the finished dimensions and proportions first
Confirm the final width and height before designing. A 2:1 banner and a square sign need different compositions even when they contain the same logo and wording. Set the document to the finished size where your software allows it, or use a clearly recorded scale such as 1:10 for very large work.
If artwork is supplied at scale, tell the printer. Images, bleed and line weights must all be appropriate for that scale. Do not enlarge only the page boundary at the end; the content, placed images and any effects need to scale consistently.
Keep essential text, logos and faces inside a comfortable safe area. Finishing can involve trimming, eyelets, hems, frames, rivets or panel joins. The necessary allowance varies, so check the product artwork requirements or contact Ellesi before relying on one generic margin.
Use appropriate image resolution
Resolution should be judged at the final printed size, not by the pixel count shown before enlargement. A small web image may look sharp on screen but become visibly soft when stretched across a sign. Inspect placed images at the intended output scale and replace low-resolution files rather than applying artificial sharpening.
There is no single DPI value that suits every large-format product. Close-view display boards generally need more detail than a banner seen from several metres away. Printing method, material and viewing distance all affect what is appropriate. Check the product artwork requirements or contact Ellesi for the target resolution.
Logos, icons and line art are best supplied as vectors where possible. Vector shapes can be enlarged without pixelation and make colour changes easier. Photographs remain raster images and must contain enough genuine detail for the intended size.
Confirm bleed, trimming and finishing
Bleed extends background colour or imagery beyond the trim edge so small cutting tolerances do not leave an unwanted white line. The required amount differs between products. A small rigid board, a hemmed banner and a panel fitted inside a frame may not use the same setup.
Extend only elements that are meant to reach the edge. Keep important content inside the safe area. If the design spans several panels, ask how they will be divided and whether overlap or a visible gap is expected. Position joins away from small lettering and important facial features.
Eyelets and finishing hardware need space too. For a banner or large-format print, do not place a telephone number against the edge where an eyelet or hem may interfere with it.
Handle fonts and colour deliberately
Use properly licensed fonts and package or outline them according to the printer’s workflow. Outlining converts letters to vector shapes and prevents font substitution, but it also makes last-minute text corrections harder. Keep an editable master file before converting anything.
Build artwork in the colour mode requested for the product. Many print workflows use CMYK, while supplied photographs and brand assets may arrive in RGB or with embedded profiles. Converting colour without understanding the destination can produce unexpected shifts. Brand-critical colours may need a physical proof or agreed colour reference; a monitor is not a contract proof.
Rich black, small black text and large dark backgrounds may require different colour builds. Avoid inventing values from a generic online article. Check the product artwork requirements or contact Ellesi.
Export a dependable PDF
PDF is a common handover format because it can preserve vector artwork, embedded images and page geometry. Use a print-oriented export preset, include the required bleed and crop information only when requested, and avoid aggressive image downsampling.
Before sending the PDF:
- open the exported file separately from the design program;
- confirm its page size or recorded scale;
- zoom in to inspect logos, thin lines and image detail;
- check that fonts display correctly;
- make sure hidden layers and notes are not visible;
- verify that transparency and shadows render as expected; and
- give the file a clear name with the job and version.
Upload the final production file rather than a screenshot or a preview downloaded from messaging software. Ellesi product pages generally allow artwork to be uploaded during ordering, supplied afterwards or created with design assistance where offered. Browse Signs and Boards or Vinyl and Stickers to check the options for the actual product.
Proof the content, not only the graphics
Production-ready artwork can still contain the wrong information. Read every line slowly and verify telephone numbers digit by digit. Check dates, prices, website addresses, arrows, room names and spelling. Confirm that QR codes point to the intended live page and have enough clear space around them.
Ask someone who did not design the artwork to proof it. They are more likely to notice a duplicated word or transposed number. Approve the final proof only after the size, material and version name match the order.
Artwork handover checklist
- Correct finished dimensions or clearly stated scale
- Artwork proportion matches the ordered product
- Suitable effective resolution at output size
- Vector logos where available
- Required bleed and safe area confirmed
- Fonts handled correctly
- Colour mode and brand expectations discussed
- Print-ready PDF checked after export
- All words, numbers, dates and directions proofread
Not sure which specification applies? Check the selected product’s artwork notes or contact Ellesi before final export. For a non-standard print or sign, request a custom quote and describe the finished size and material.